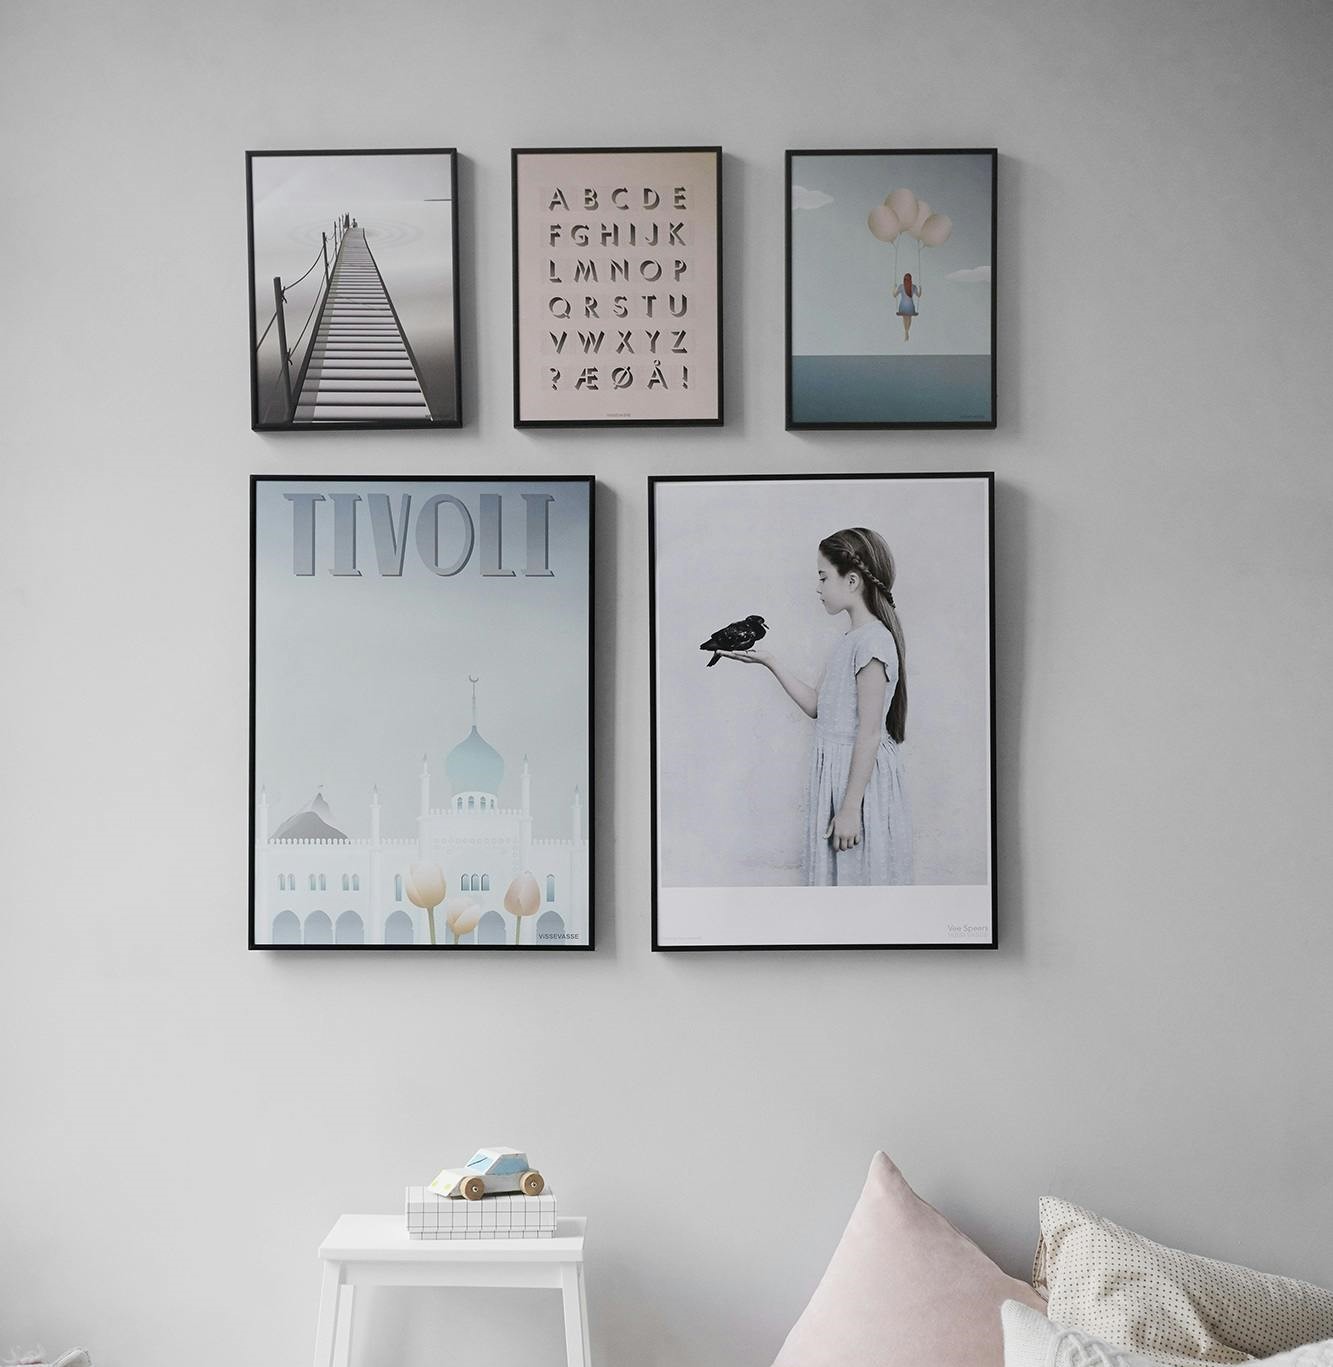
DIY Fabric Wall Art: Add a Touch of Creativity to Your Space
Fabric wall art is a stylish and customizable way to enhance your home decor. It offers endless possibilities for creativity and allows you to add a personal touch to your walls. Whether you want to create a statement piece or a series of coordinating artworks, DIY fabric wall art is an enjoyable project that can transform any room. Here’s a step-by-step guide to making your own fabric wall art.
Materials You’ll Need:
- Fabric (choose colors and patterns that match your decor)
- Canvas or wooden frames (for stretching the fabric)
- Staple gun or fabric glue
- Scissors
- Measuring tape or ruler
- Pencil or chalk (for marking)
- Staples or tacks (if using a frame)
- Paintbrush and acrylic paint (optional, for adding designs)
Step 1: Choose Your Fabric
Select fabric that complements your room’s color scheme and style. You can use a single bold pattern for a statement piece or various fabrics for a collage effect. Consider the texture and weight of the fabric to ensure it works well with your chosen method of mounting.
Tip: Vintage fabrics, patterned textiles, or even fabric remnants can create unique and personal artwork.
Step 2: Prepare the Canvas or Frame
You can use an old canvas, wooden frame, or even a large piece of cardboard as the base for your fabric wall art.
- Measure and Cut: Measure the dimensions of your canvas or frame. Cut your fabric to fit, leaving an extra 2-3 inches around the edges for wrapping.
- Stretch Fabric: If you’re using a canvas or wooden frame, stretch the fabric over it tightly. Smooth out any wrinkles or bubbles.
Step 3: Attach the Fabric
Here are two popular methods for attaching fabric to your base:
- Staple Gun Method:
- Place Fabric: Lay the fabric over the canvas or frame, centering it as needed.
- Staple Edges: Start by stapling the fabric to the back of the frame or canvas, pulling it taut as you go. Secure the fabric with staples about 1-2 inches apart. Fold the corners neatly and staple them down to prevent any loose edges.
- Trim Excess: Trim any excess fabric from the back to keep it clean and neat.
- Fabric Glue Method:
- Apply Glue: If you prefer fabric glue, apply a thin layer to the back of the fabric or the surface of the canvas/frame.
- Press Fabric: Smooth the fabric onto the glue, making sure to press out any wrinkles or bubbles.
- Let Dry: Allow the glue to dry completely according to the manufacturer’s instructions.
Step 4: Add Designs (Optional)
For an extra touch of creativity, you can paint or stencil designs onto the fabric before attaching it to the canvas.
- Paint Designs: Use acrylic paint and a paintbrush to add patterns, motifs, or even inspirational quotes. Let the paint dry before proceeding.
- Stenciling: Use fabric stencils to create precise designs. Secure the stencil in place, then apply paint or fabric markers as desired.
Step 5: Frame and Hang
Once your fabric is securely attached and any designs have dried, it’s time to display your artwork.
- Add a Frame: If you used a canvas, it’s ready to hang as-is. For wooden frames or cardboard, you might want to add a simple frame or decorative edging.
- Hang Your Art: Choose a suitable spot on your wall, and use appropriate wall fixtures (hooks, nails, or adhesive strips) to hang your fabric art.
Step 6: Enjoy Your Creation
Step back and admire your DIY fabric wall art! It’s a unique piece that reflects your personal style and adds a vibrant touch to your home decor.
Conclusion
Creating your own fabric wall art is an enjoyable and rewarding project that can brighten up any space. With just a few materials and a bit of creativity, you can craft personalized artwork that brings color and character to your home. Whether you choose a bold pattern or a subtle design, your fabric wall art will be a testament to your artistic flair and a cherished part of your decor. So gather your supplies, let your imagination run wild, and enjoy the process of making something truly special for your walls!
Recent articles from Diy

Natural Insect Repellent Spray for Home Use
Introduction: Tired of pesky insects invading your home but want to avoid chemical-laden repellents? A DIY natural insect repellent spray is the perfect solution. Not only is it...

How to Make Christmas Tree Ornaments Yourself: 10 Festive Ideas
Nowadays, there’s no shortage of Christmas ornaments – they’re readily available at any supermarket or online marketplace. However, store-bought decorations often look simple and uninspired. If ...
DIY: Vintage-Inspired Photo Frame
Create a unique and personalized piece of decor with this simple project
Looking for a one-of-a-kind photo frame to showcase your favorite memories? This DIY project allow...